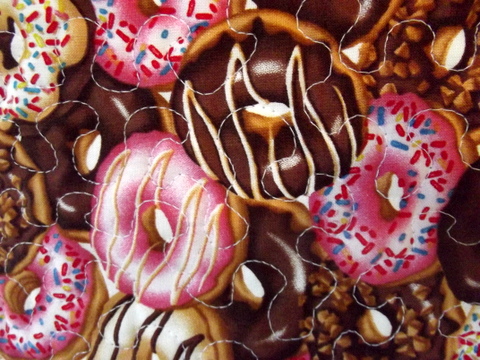
Note: If you want to buy reusable fabric grocery bags, please visit my Etsy Shop.
But, feel free to make your own from this tutorial!
I started making these reusuable grocery bags a couple of weeks ago and have been selling some in my Etsy Shop. I wanted to share my pattern so that anyone who wanted to could make their own. Since I have been the recipient of so many great tutorials out there in blogland, it would only be right for me to share mine. :o)
This is how I make the bags that are 15 inches wide, 14 inches deep and have a 5 inch wide gussett on the bottom.
They have 12 inch long handles. Feel free to make the handles any length you like. I have made some with shoulder length handles that work well. Just cut the handles about 28 inches long which allows for a 14 inch drop from the shoulder.
They are lined or you could call them reversable.
First you cut two rectangles which are 16 inches wide and 18 inches tall. On the bottom you cut out two 2 1/2 inch squares like this. You will do this for your outer fabric and your lining. This bag will have a pink and yellow calico outer fabric and a yellow lining.


Then cut two pieces of your outer fabric that are 4 1/2 inches wide and 13 inches long for the handles.

The first thing I sew is the bottom seam of the outer fabric. Place the bottom edges right sides together and make the seam 1/2 inch wide. Sew the bottom seam twice to make them really strong for heavy groceries! Then press the seam open. Always press this seam open before you sew the side seams. It makes it much easier.

You can add a professional finish by top stitching on each side of the seam like this. The distance between my presser foot and the seam is 1/4 inch, so I just put the edge of my presser foot in the ditch of the seam and sew. This step isn't absolutely necessary, but nice.

Then pin the side seams together and sew each of them.

Place each side of the bag on the pointy end of the ironing board and press open the seam. While it is on the board you will notice that the bottom seam will match up to the side seam. Put the seams together before taking off the board, place one pin in the seam and press like this.

Then sew a 1/2 inch seam straight across like this. Sew this seam twice too for extra strength. This creates the rectangular shape of the bottom of the bag or what I call a gussett.

Now follow the exact same steps for the lining except LEAVE AN OPENING ABOUT 4 INCHES LONG ON THE BOTTOM SEAM FOR TURNING THE BAG. Everything else is the same process.

To make the handles, press the edges over about 1/2 inch, fold in half long ways and press. Cut strips of quilt batting to fit and place inside. Press well before sewing. Then stitch on one edge, press well and stitch the other edge.


Pin the handles onto the right side of the outer bag like this. I put mine about 4 inches from the side seams. Make sure the handles on both side are even.

Now its time to sew the outer bag and lining together. Place one inside the other right sides together, with the handles in between. Match up the side seams and pin. Then pin well all the way around and sew a one half inch seam all the way around. Remove all the pins. You will have to stick your hand in through the opening in the lining to get the pins you pinned on the handles with earlier.


Turn the bag by pulling the outer bag through the opening in the lining like this. Its like it appears out of nowhere!!!

Then push the lining down into the bag and press the top edge well by placing it on the pointy end of the ironing board. Then topstitch a 1/4 inch seam all the way around the top.

The final step is to sew up the opening left in the lining. I press it together evenly and close it up on the sewing machine like this. Again, since it is a bottom seam I sew it twice for extra strength.

The final product!!!

Here is another pretty handle:

This is another handle that is nice on the grocery bags. I got this idea from the book, "Bend The Rules Sewing". The underside of the handles match the lining. The above picture shows what both sides of the handles look like.
I think this style of handle looks really nice and is a little easier to me than the other handles. But I plan to use both kinds of handles on my bags.
This is how I make the lined handles:
For each handle I cut two strips 2 1/2 inches wide and about 14 inches long from the outer fabric and the lining fabric. Turn up each edge on the long side of the outer fabric about 1/4 inch. Then turn under the lining fabric edges a little more, about 1/2 inch. Cut a strip of quilt batting and place it inside the strip made from the outer fabric. Then lay the lining strip with wrong sides together on top of the quilt batting strip and edge stitch along the edge of the lining fabric strip on one side. I have to sew really slow and keep making sure the strip is straight on the side I'm sewing. Then press and sew the other side.
Then pin the handles on the outer bag right sides together like this. Finish the bag the same as the instructions in the Grocery Bag Tutorial in my previous post.

I love the way these handles look!